THE SECRET TO HITTING YOUR GOAL IS TO QUIT GIVING UP SO DANG EASILY!
We give up the second we feel any pain or discomfort.
I was on a business call the other day and one of the concepts that came up was us avoiding negative emotions. It was also avoiding being uncomfortable, failure, or anything that is hard.
Avoiding your negative feelings will cost you your goals and your dreams.
In business this looks like:
-
If we are afraid of being judged, we don’t put ourselves out there and we never get what we want.
-
Avoiding failure means that we just don’t ever try.
-
We are afraid of being overwhelmed and having too much on our plates so we just never do any of it.
What is that thing you’re avoiding? Judgement? Failure? Hard work? Discomfort?
There are going to be negative emotions and feelings in life. Figure out what you are avoiding and label it.
Is it costing you your goal?
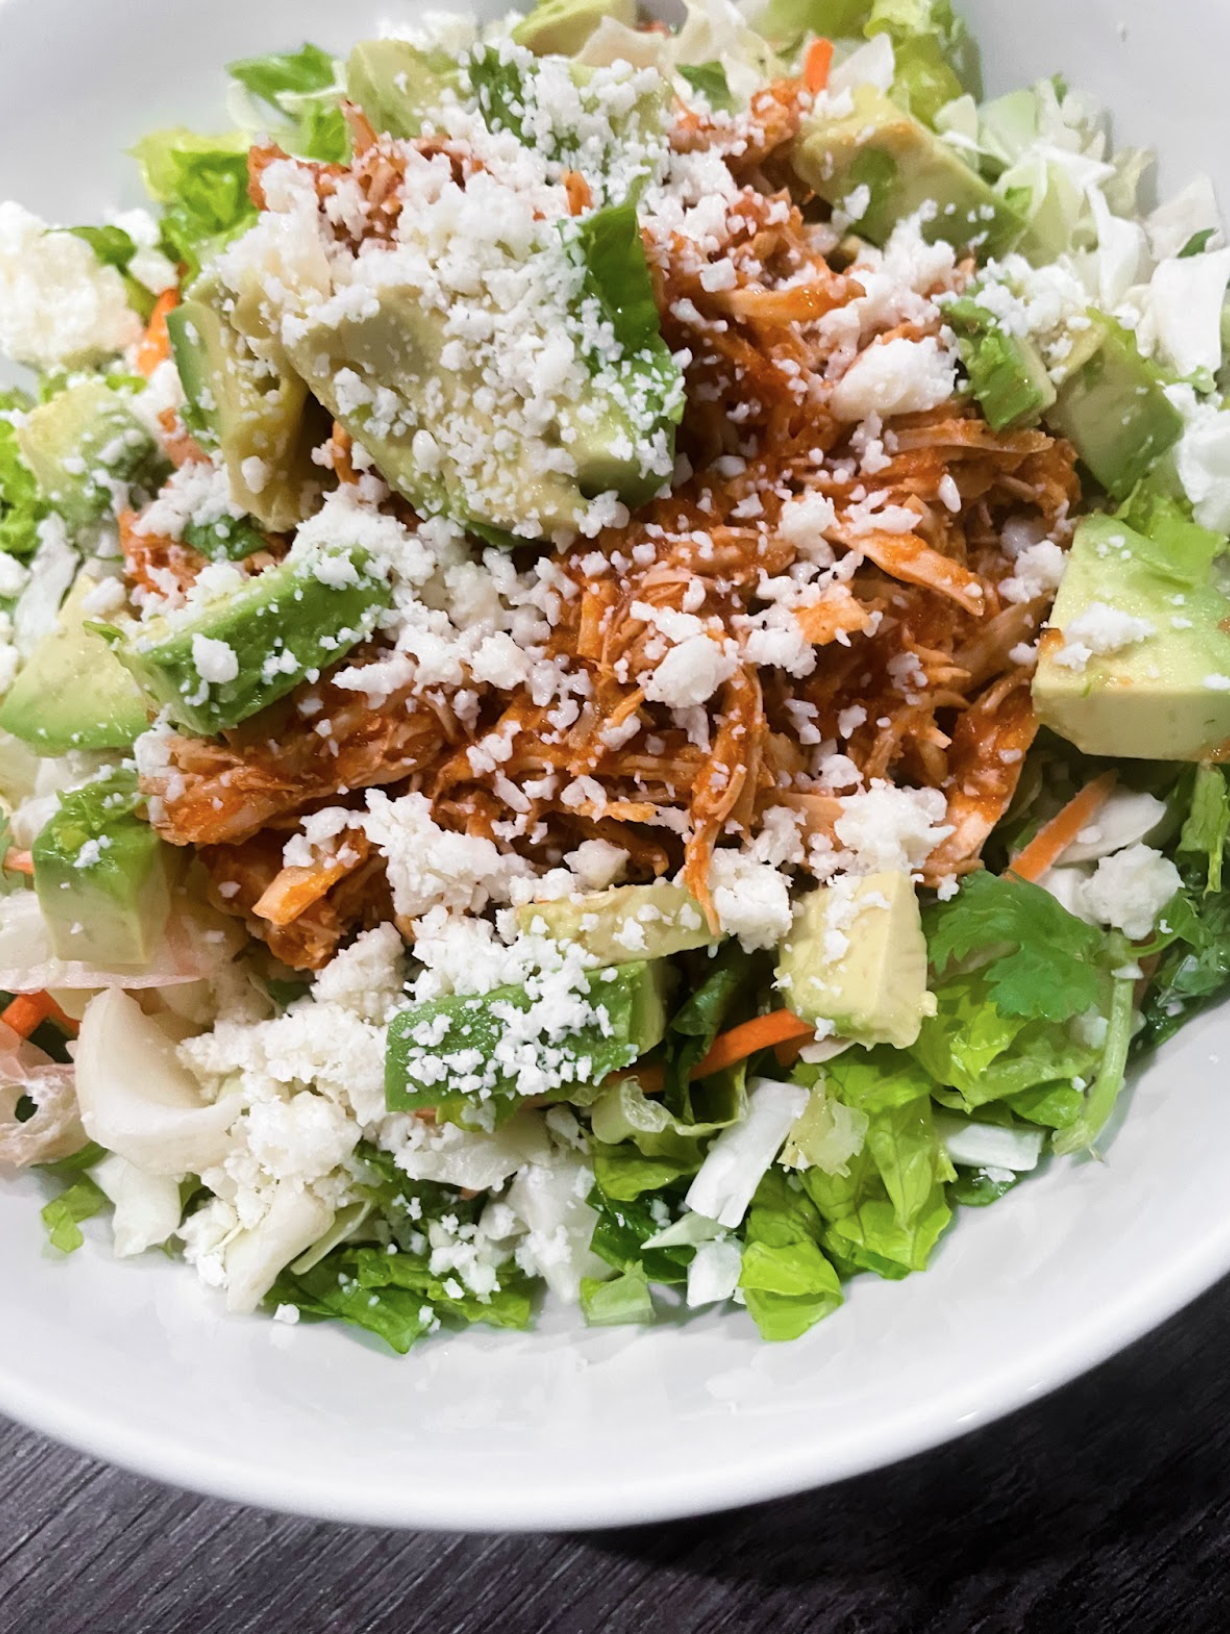
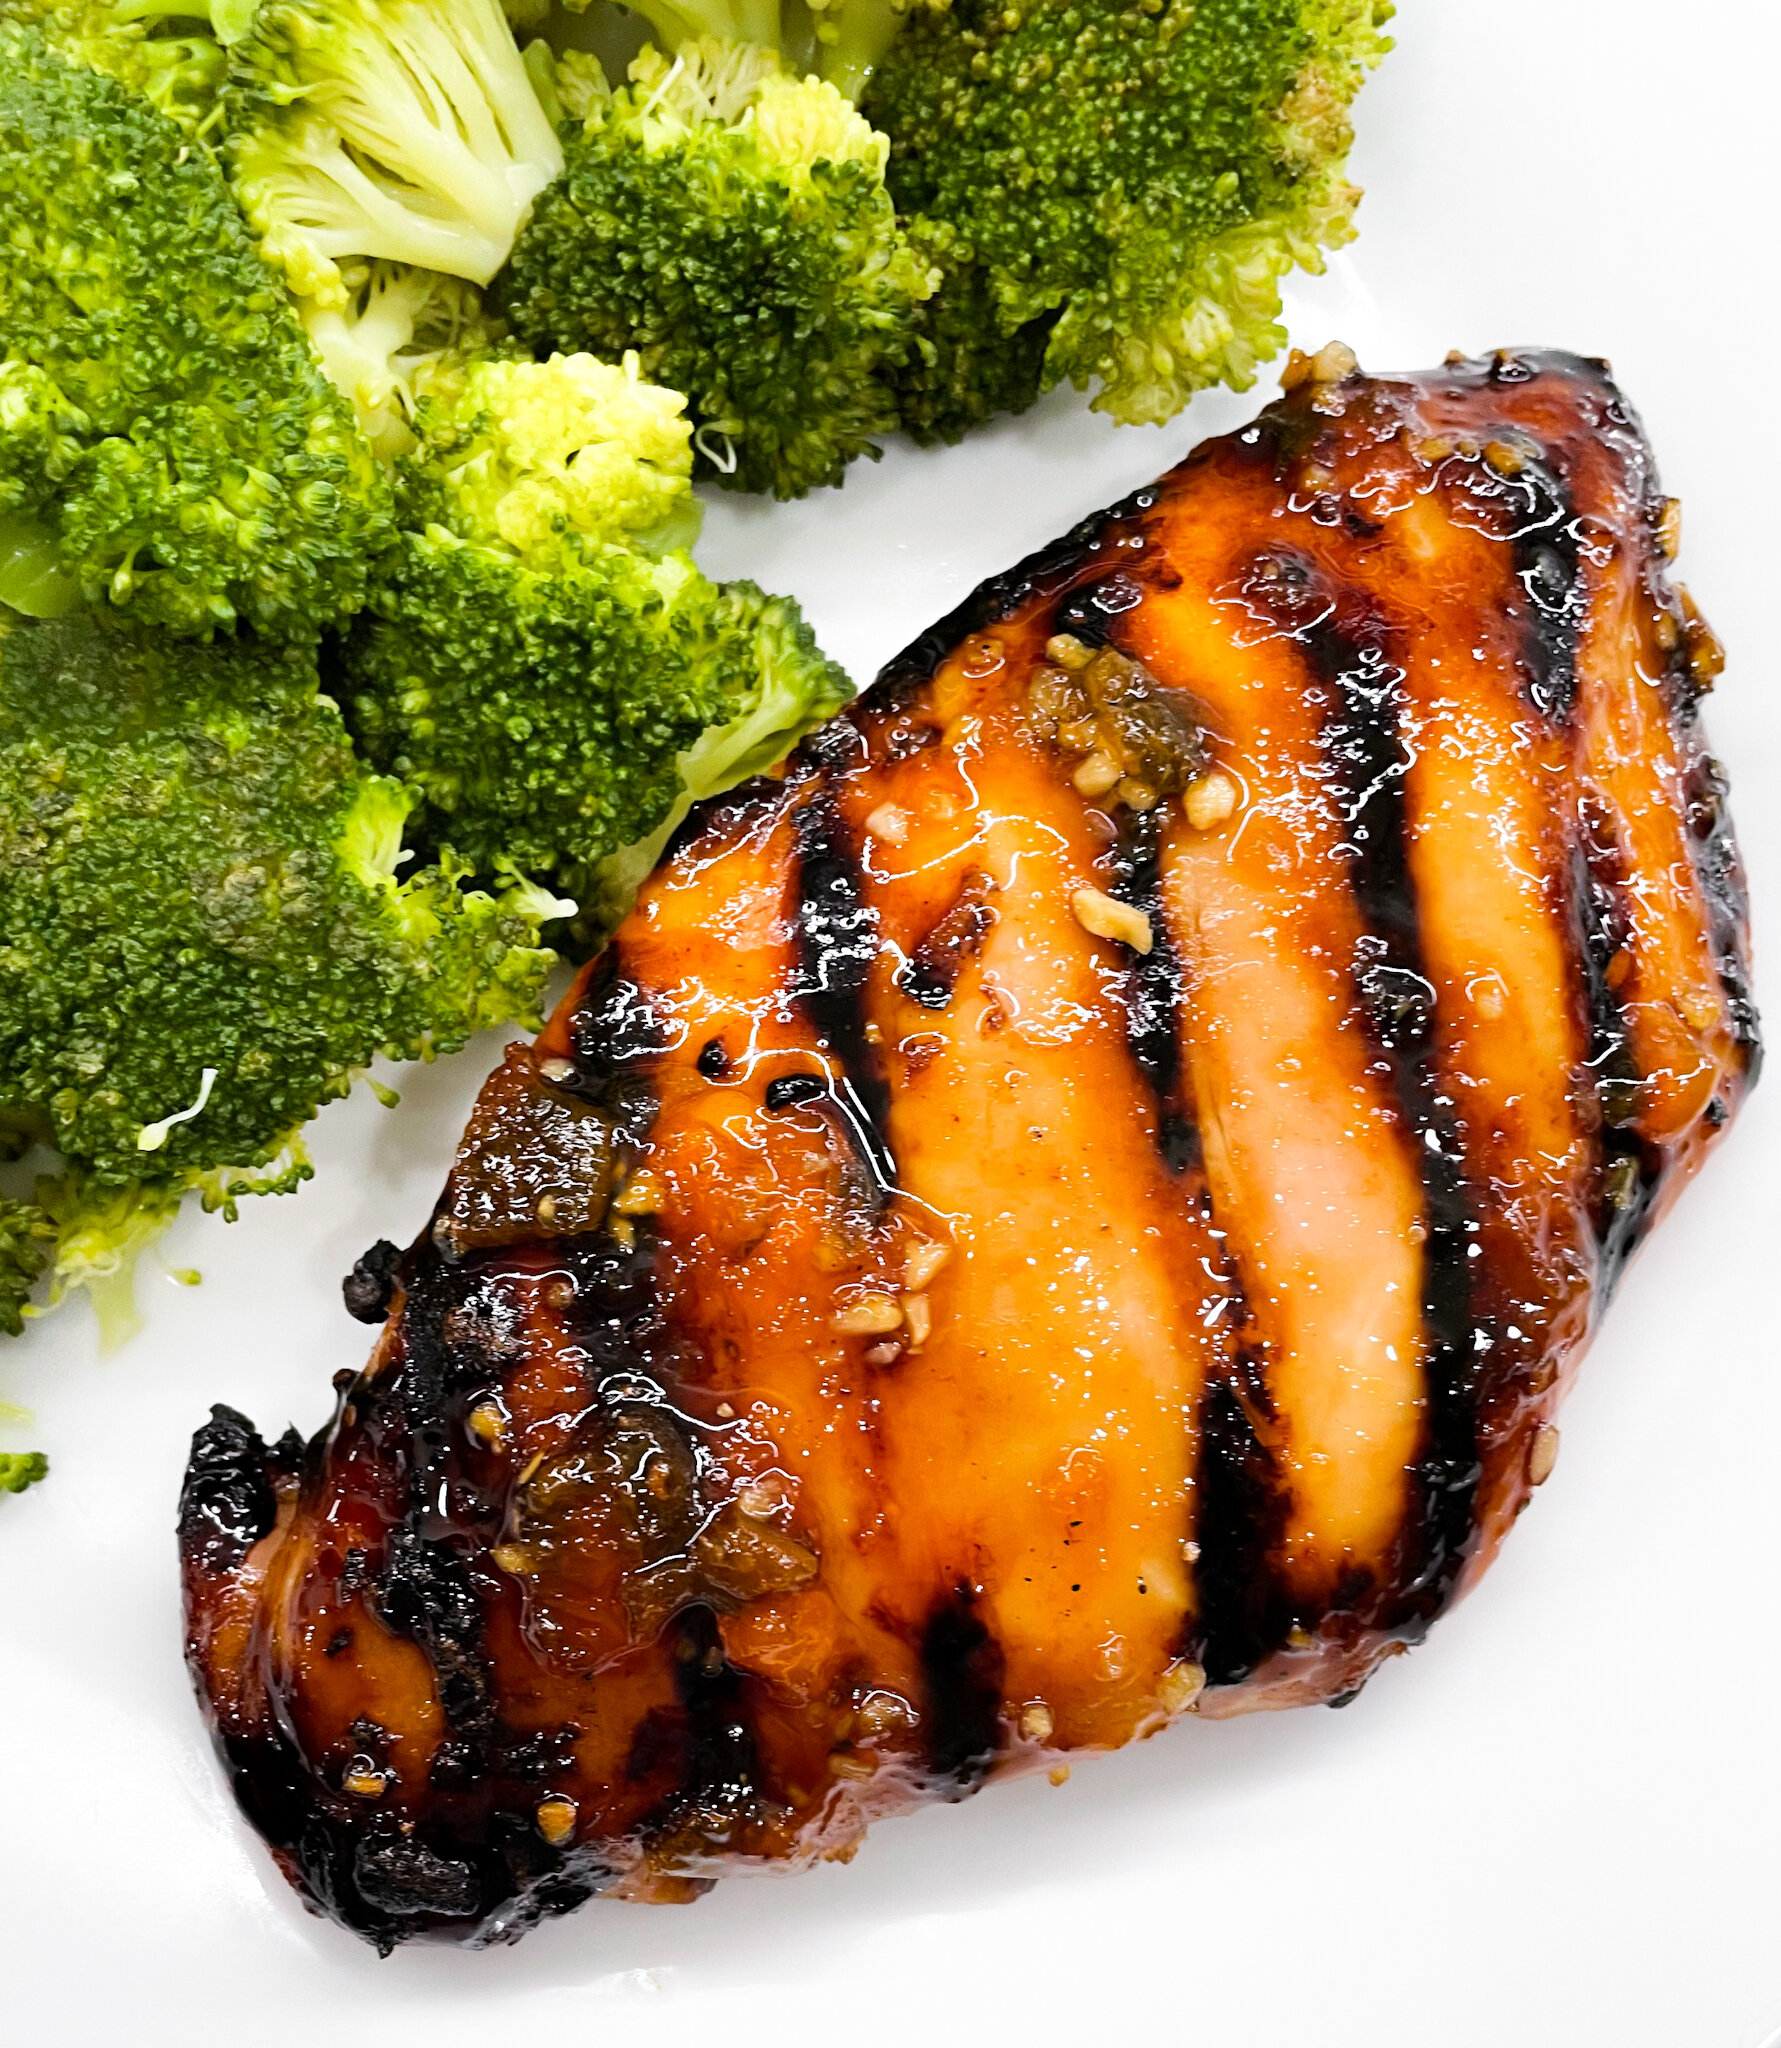
If your goal is to lose weight, you are probably going to have to get uncomfortable. It’s probably not going to be convenient for you. It’s going to mean showing up when you are tired. It’s going to mean staying committed even when you don’t feel like it, even when you would rather do something else. By avoiding ever feeling the discomfort, lack of convenience, things like that, it costs us those goals and dreams.
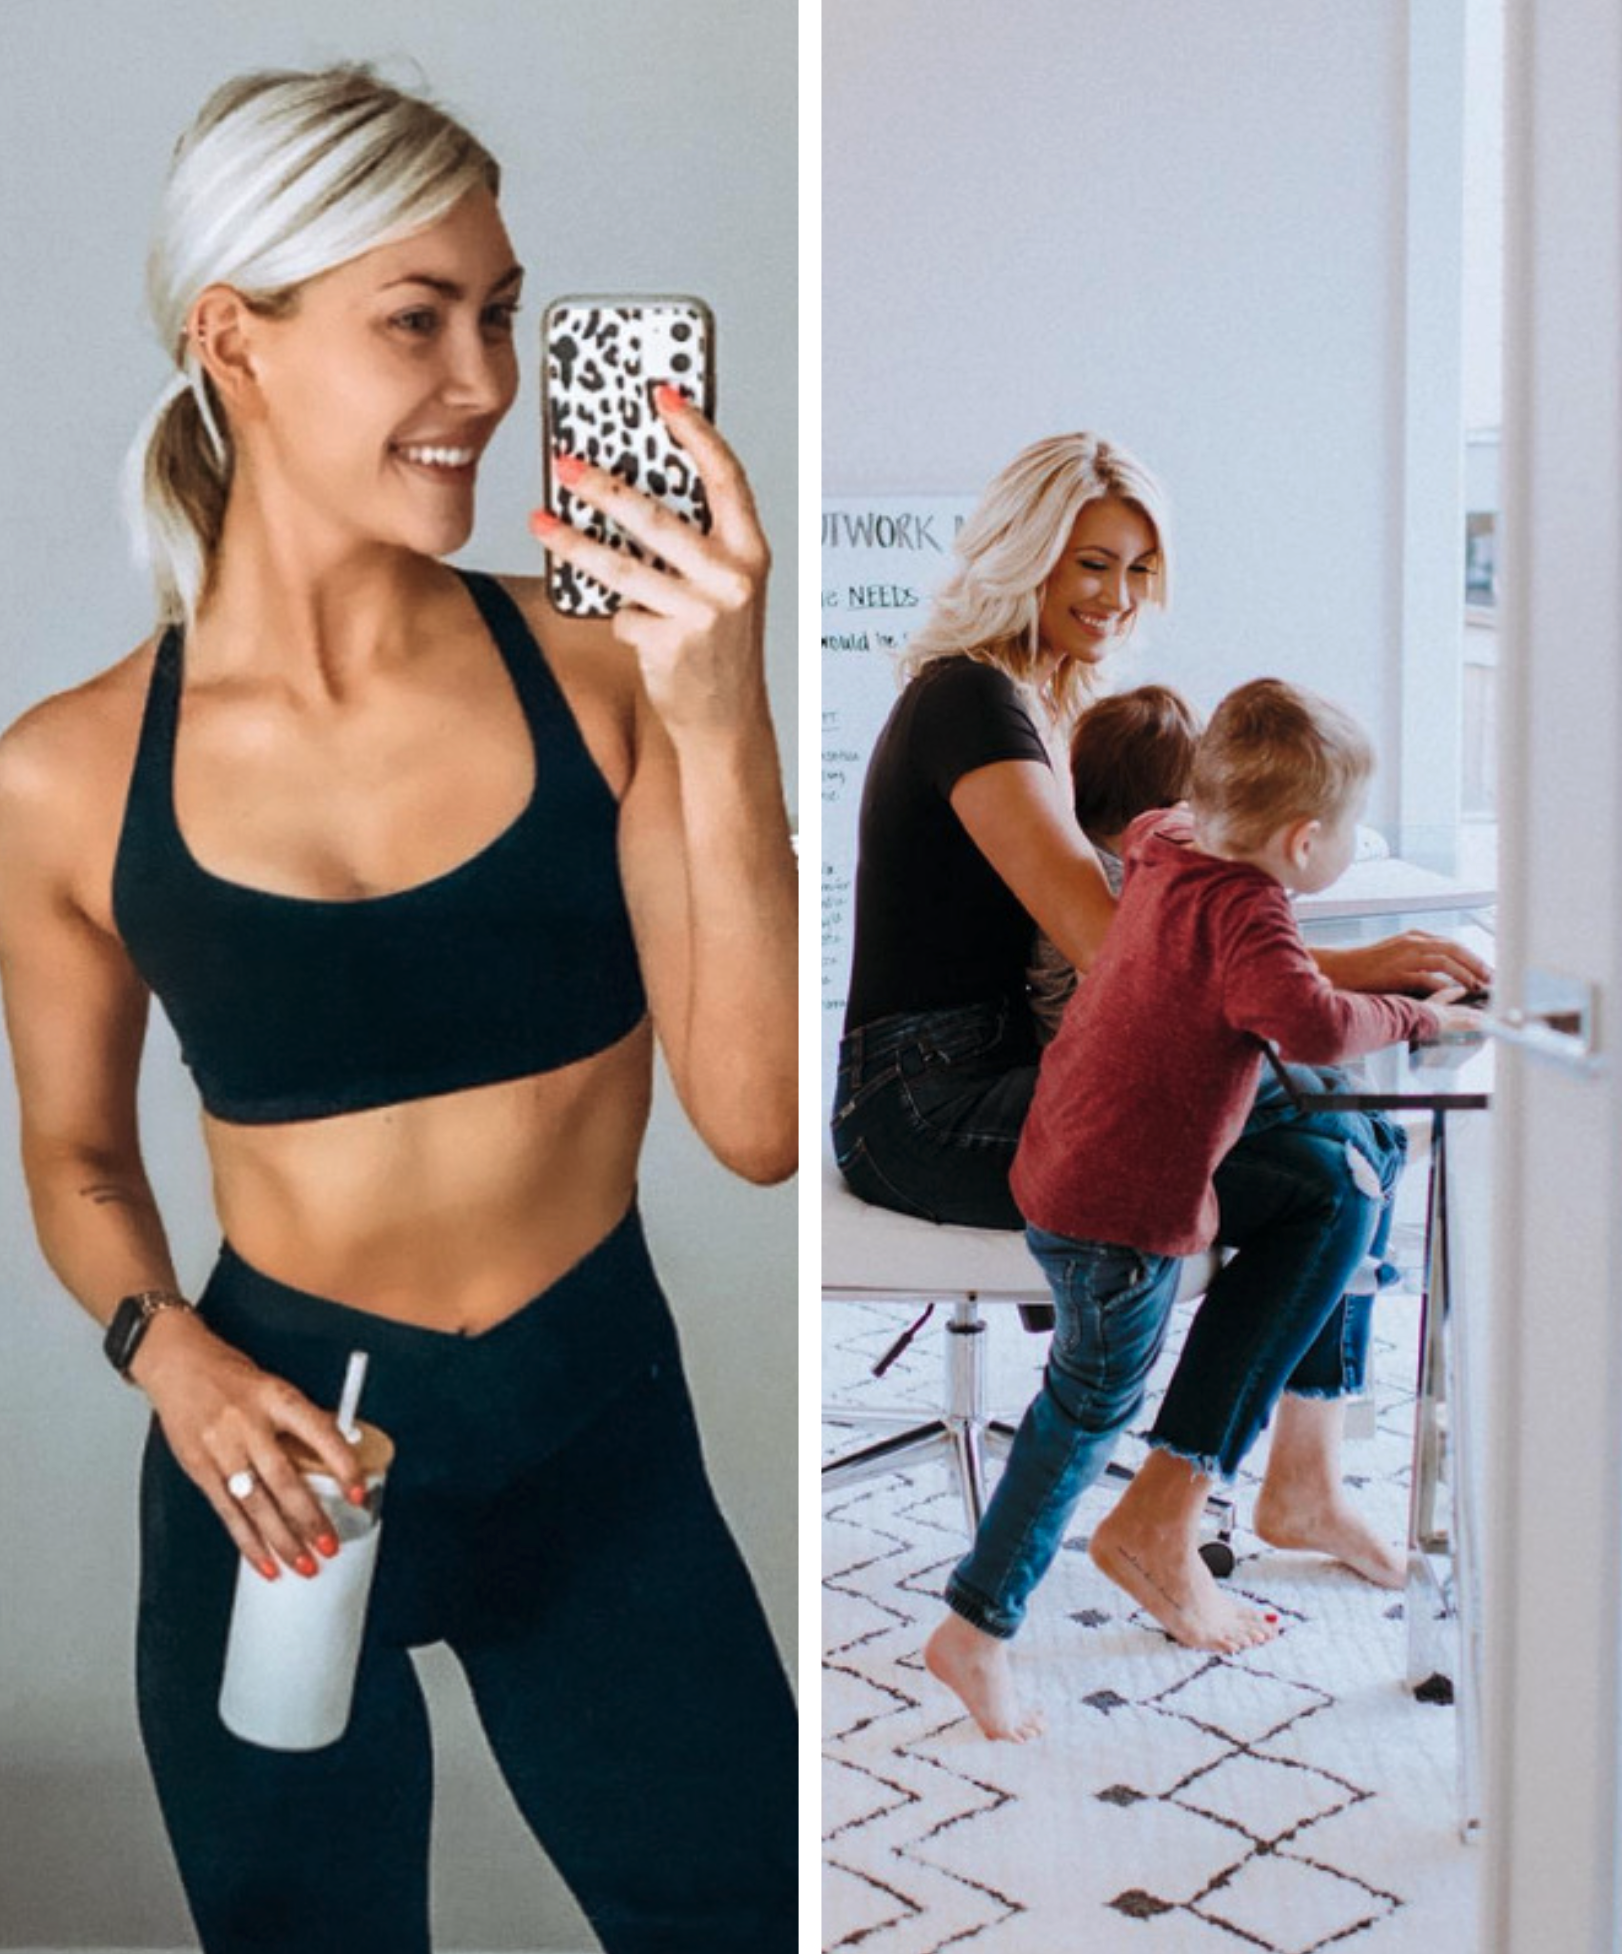
I write down my intentional thoughts daily.
Something I am doing with my coaches and 1:1 life coach clients is to write down my thoughts. I ask myself..
“What do I want to feel?”
I have this thing called intentional thoughts and I write down the thoughts that are serving me and help me get to my goals. One of them is…
I am willing to feel ANY emotion to get to my goal. That means being ok with being judged, feeling nervous, feeling a bit insecure.
That might mean feeling judged. It might mean feeling embarrassed at times and feeling like a beginner. Let me tell you in this life coach realm, I am scared you know whatless. I messaged my business coach a few days ago and I told her how uncomfortable and nervous I am. She told me that it was normal to feel that way because I haven’t done something new in a while. I realized…
If I have to feel those feelings to reach more people and help more people, I am willing to feel them.
It’s been 7.5 years since I started my business so it has been a while for me to have to do new things. I am willing to feel those emotions if it means getting to my goal. You may not be starting a new business like me but maybe you are trying to lose weight. Maybe you are trying something new. May you are trying to lose weight for the millionth time when you feel like you have “failed” one thousand times before. Think about this for a minute…
Are you willing to be uncomfortable if it means hitting your goal? Or would you rather stay in your comfort zone and stay where you’re at? Change and growth aren’t always going to feel good in the moment…they’re called growing PAINS for a reason.
By you staying in your comfort zone and not feeling anything new or different, it might cost you what you want most. Ask yourself…
How bad do you want it?
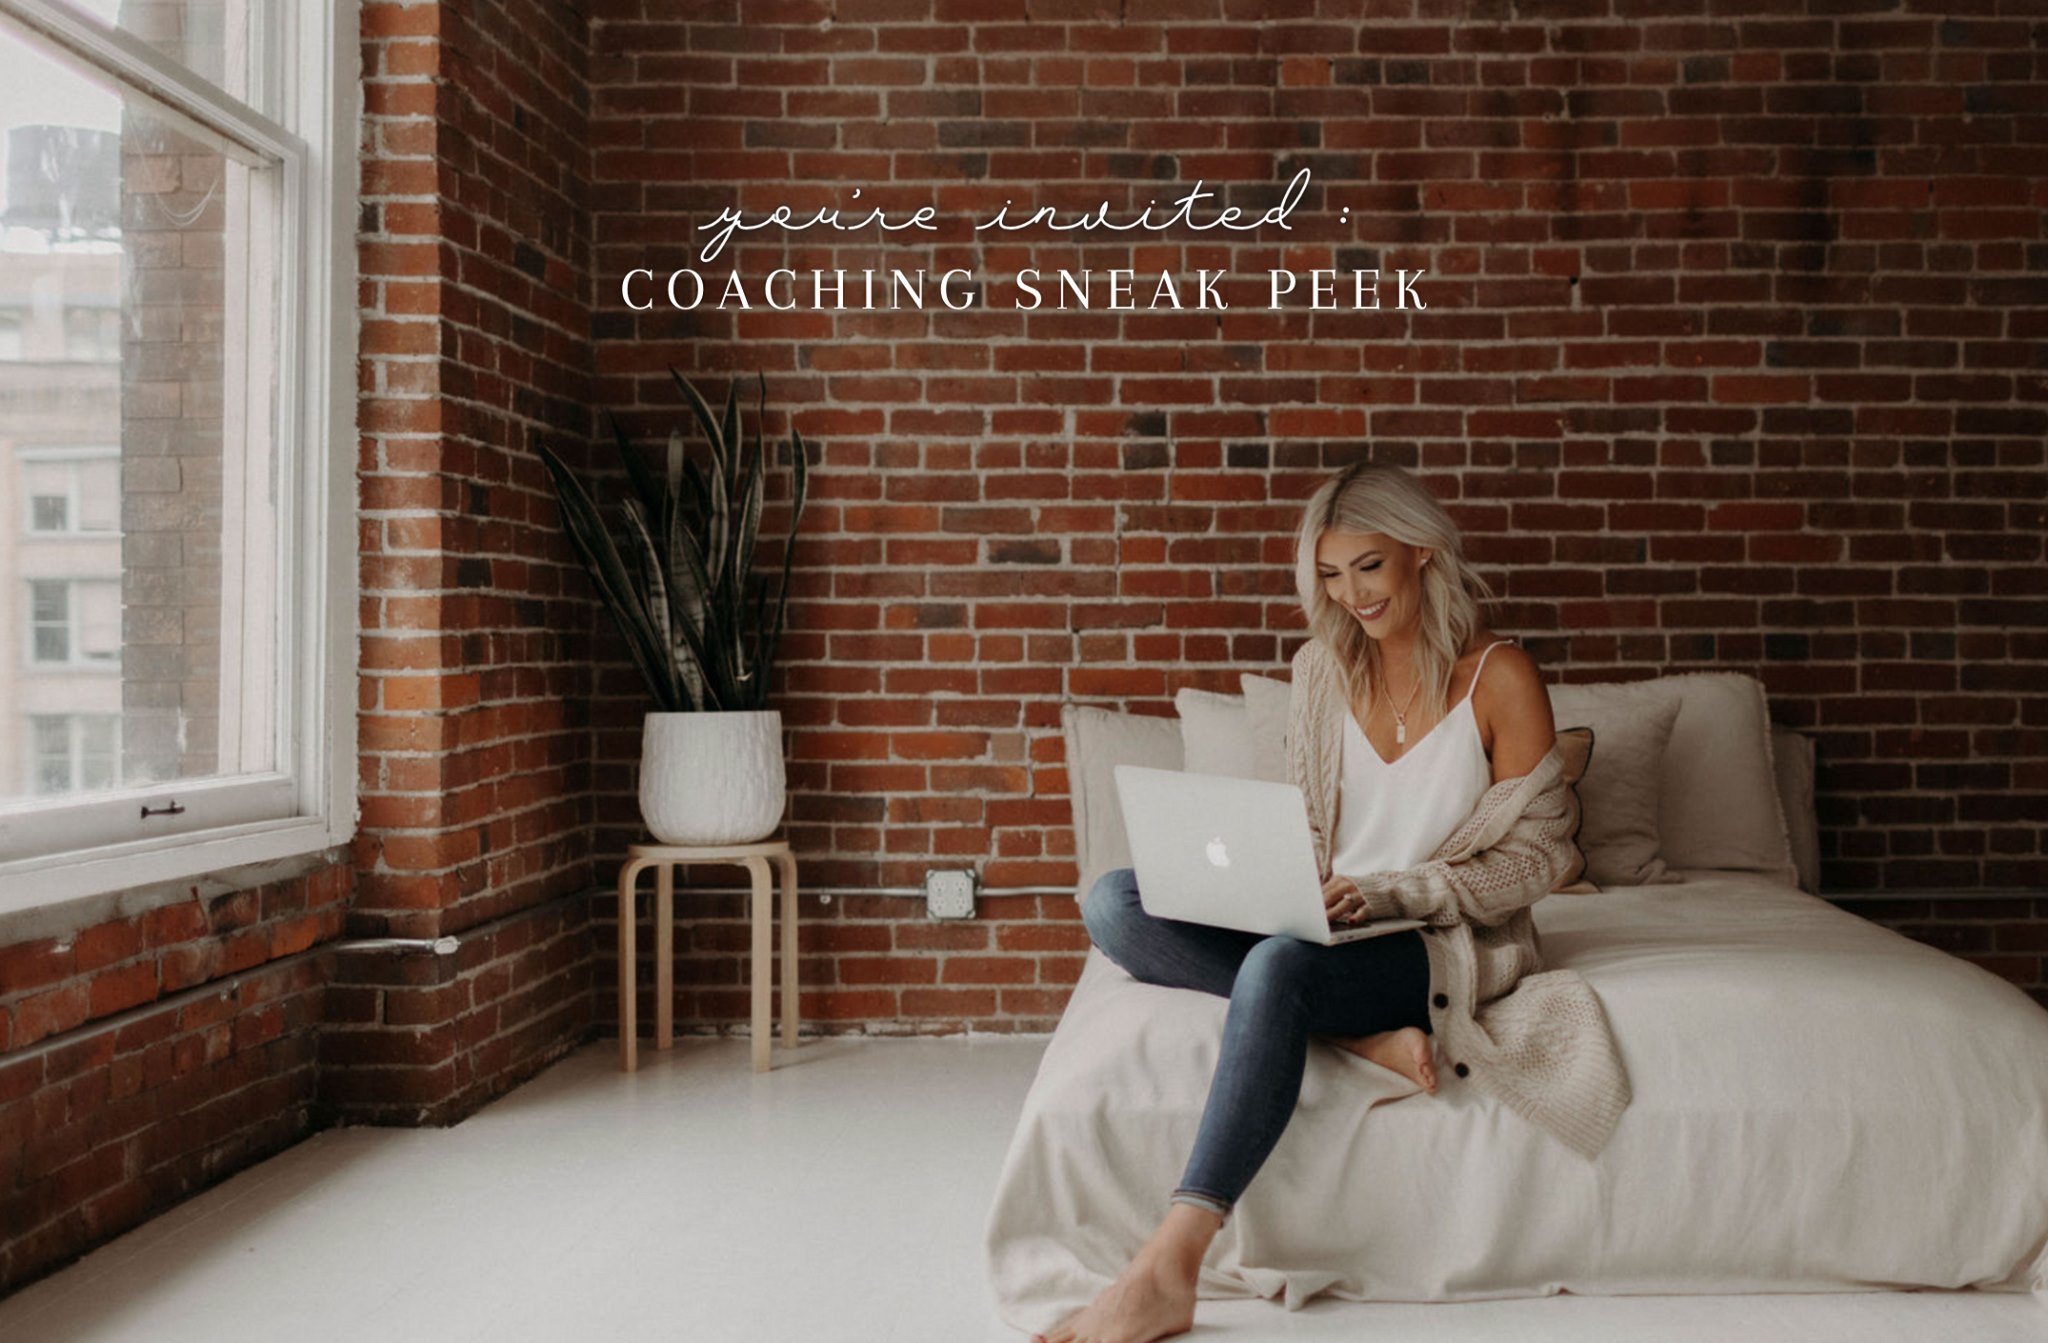
JOIN MY NEXT VIRTUAL BOOTCAMP
I share this because I started this business to help even just ONE person have a breakthrough moment. My Virtual Bootcamps walk you through commitment mindset, nutrition coaching, at-home workouts and support from myself and my team along the way. If I can help change even ONE person’s life, it is all worth it!