INGREDIENTS
-
2 cups of gluten free rolled oats
-
1 cup of unsweetened almond milk
-
.5 cup of water
-
1 tsp of pure vanilla extract
-
2 tsp of maple extract
-
2 large eggs
-
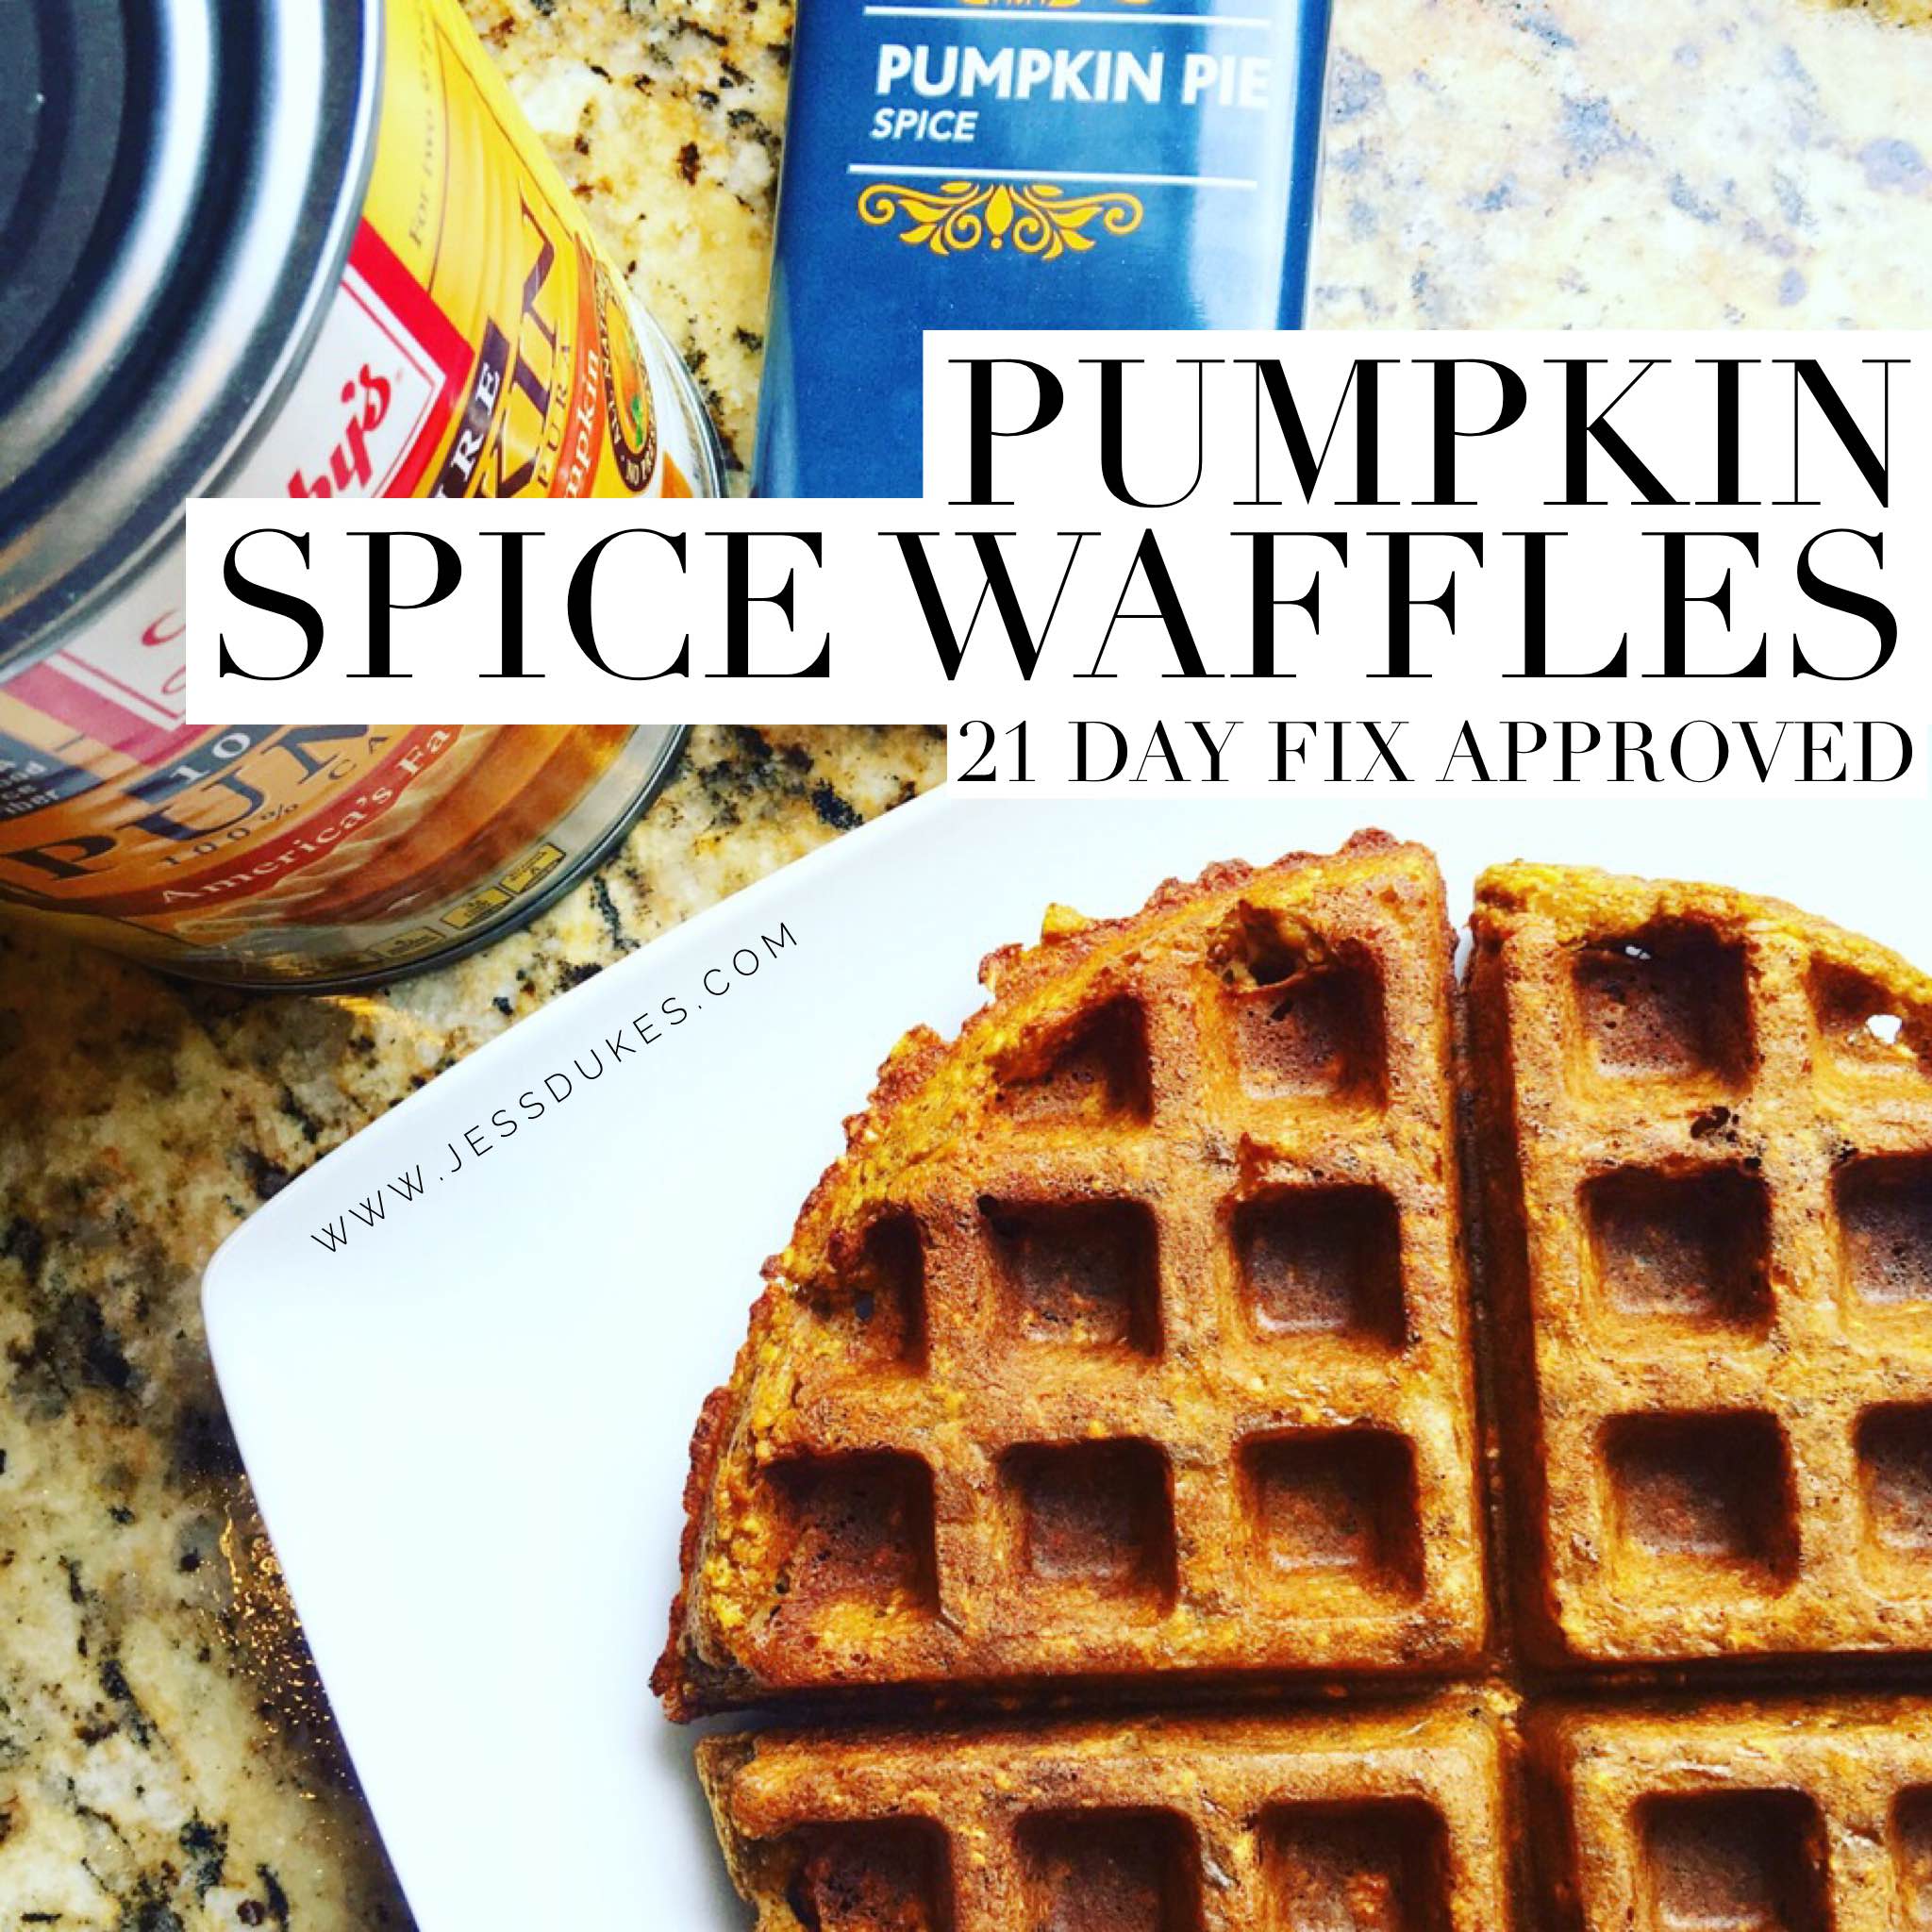
2 cups of pumpkin
-
2 tsp of cinnamon
-
1 tbsp pumpkin pie spice
-
1 tsp nutmeg
-
1 tsp of baking powder
-
1 tsp coconut oil
DIRECTIONS
-
Preheat waffle maker and spray with non-stick cooking spray.
-
Blend all ingredients in a blender until almost smooth.
-
If you are following the 21 Day Fix meal plan, it may be best to measure out the batter into four equal portions so you know the exact portion size.
-
Pour batter into waffle maker and cook. I cooked mine on the highest setting and cook 5-6 minutes per side. Mine are fairly crispy when finished.
-
Enjoy with fruit or peanut butter!
I make this batter ahead of time and let it thicken up overnight before I use. Not something you have to do, but I love the texture of the waffles! And be forewarned, this batter does get THICK when it sits overnight to the point where I have to spoon the batter out and onto the waffle maker, it does not pour.
If you are following the 21 Day Fix meal plan, these count as 1 yellow and .25 purple. This recipe serves 8, so the number of waffles it makes depends on the size of your waffle maker. My batch made 8 waffles, so one waffle is equal to the 1 yellow and 1/4 purple. The serving for my waffle maker was 1/2 cup of batter for each waffle.
Jess