INGREDIENTS
-
1 tablespoon of olive oil
-
1 shallot, sliced
-
1 clove garlic, minced
-
1 jalapeno, chopped, ribs and seeds removed
-
2 teaspoons fish sauce
-
2 pounds of pork tenderloin, sliced into bite size pieces
-
2 tablespoons stevia (I used Truvia)
-
1 cup pineapple, chopped
-
1 cup cucumber, chopped
-
1/2 cup cilantro, chopped
-
1/2 cup red onion, chopped
-
1 tablespoon lime juice
-
1 teaspoon sea salt
-
2 tablespoons mayonnaise (I used vegan mayo)
-
1 teaspoon sriracha
-
Tortillas
DIRECTIONS
-
In a bowl, add chopped pork, shallot, garlic, jalapeno, fish sauce, stevia and 2 tablespoons of water. Allow pork to marinate for at least 30 minutes or even overnight.
-
In a large skillet, heat olive oil over medium heat and add pork mixture. Cook for 5-6 minutes, or until pork is fully cooked through.
-
While the pork is cooking, combine pineapple, cucumber, cilantro, red onion, lime juice and sea salt to a bowl and mix. Set aside.
-
If you have a gas stove, you can char your tortillas otherwise you can warm them up in a skillet or microwave. I lightly spray mine with cooking spray and put over my gas burner, flipping often. They will catch fire, so please be present! Remove one they are charred to your liking!
-
For the sauce, combine mayonnaise and sriracha in a bowl and add water until it reaches your desired thickness.
-
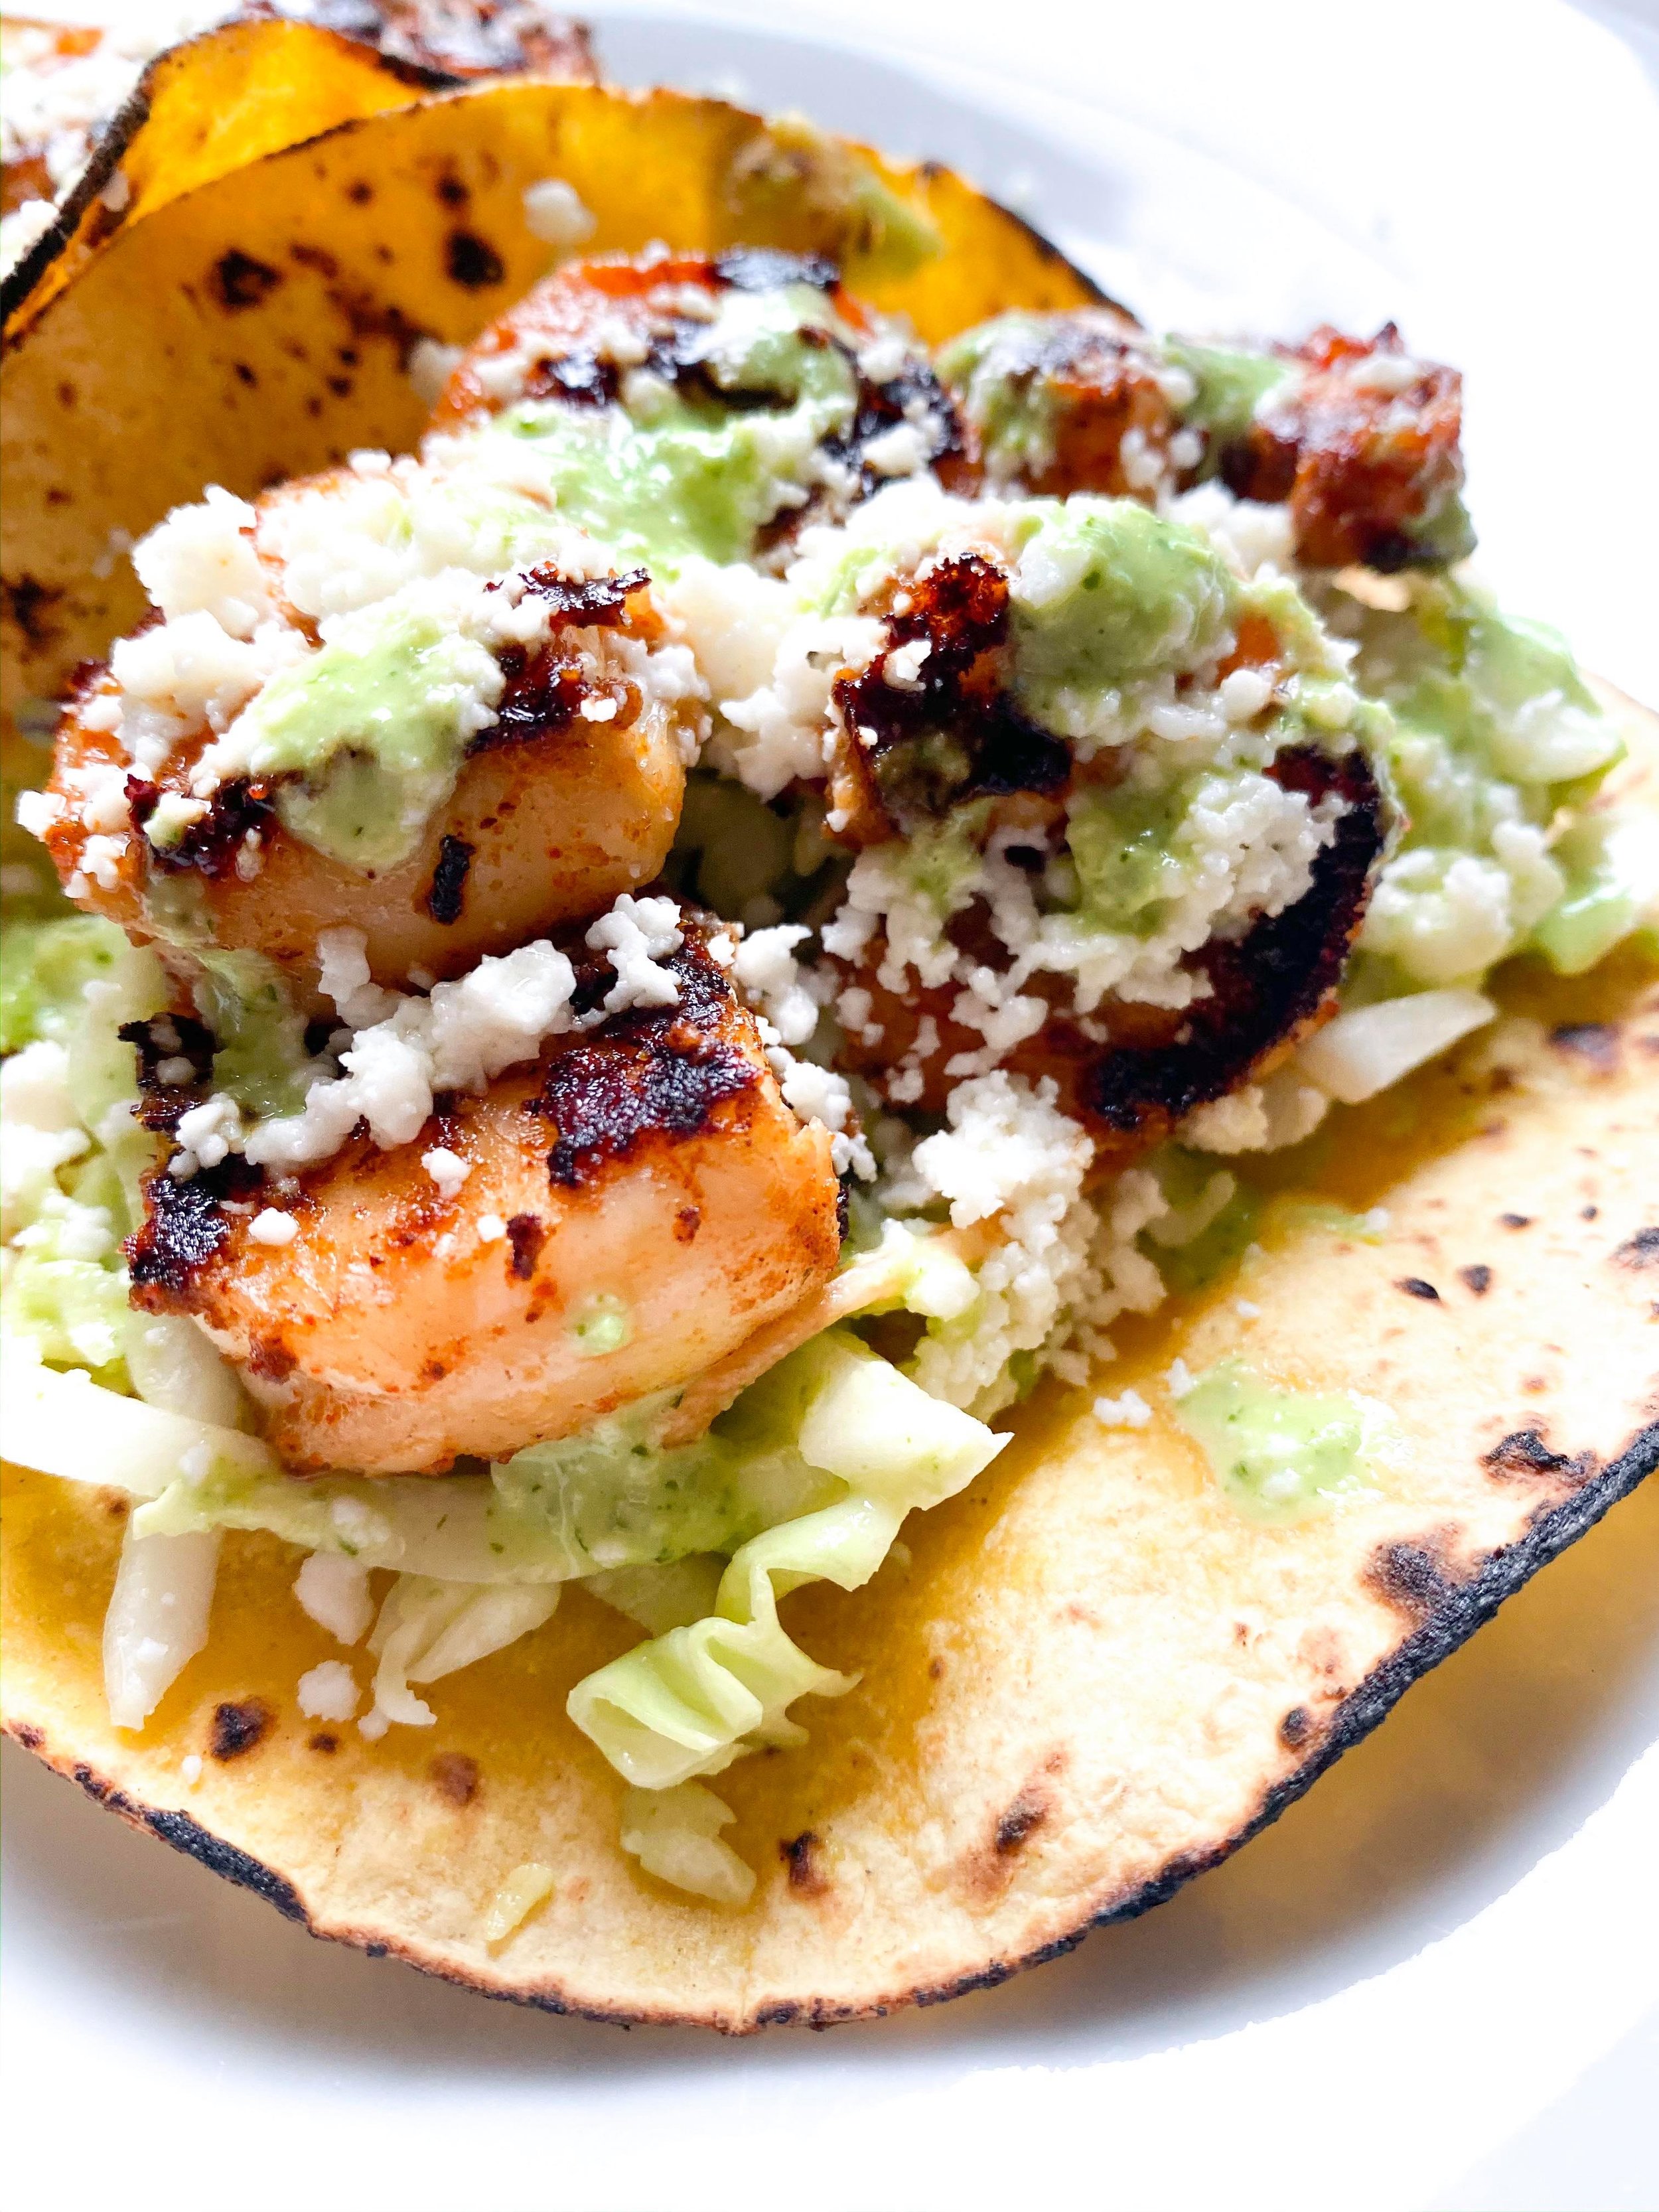
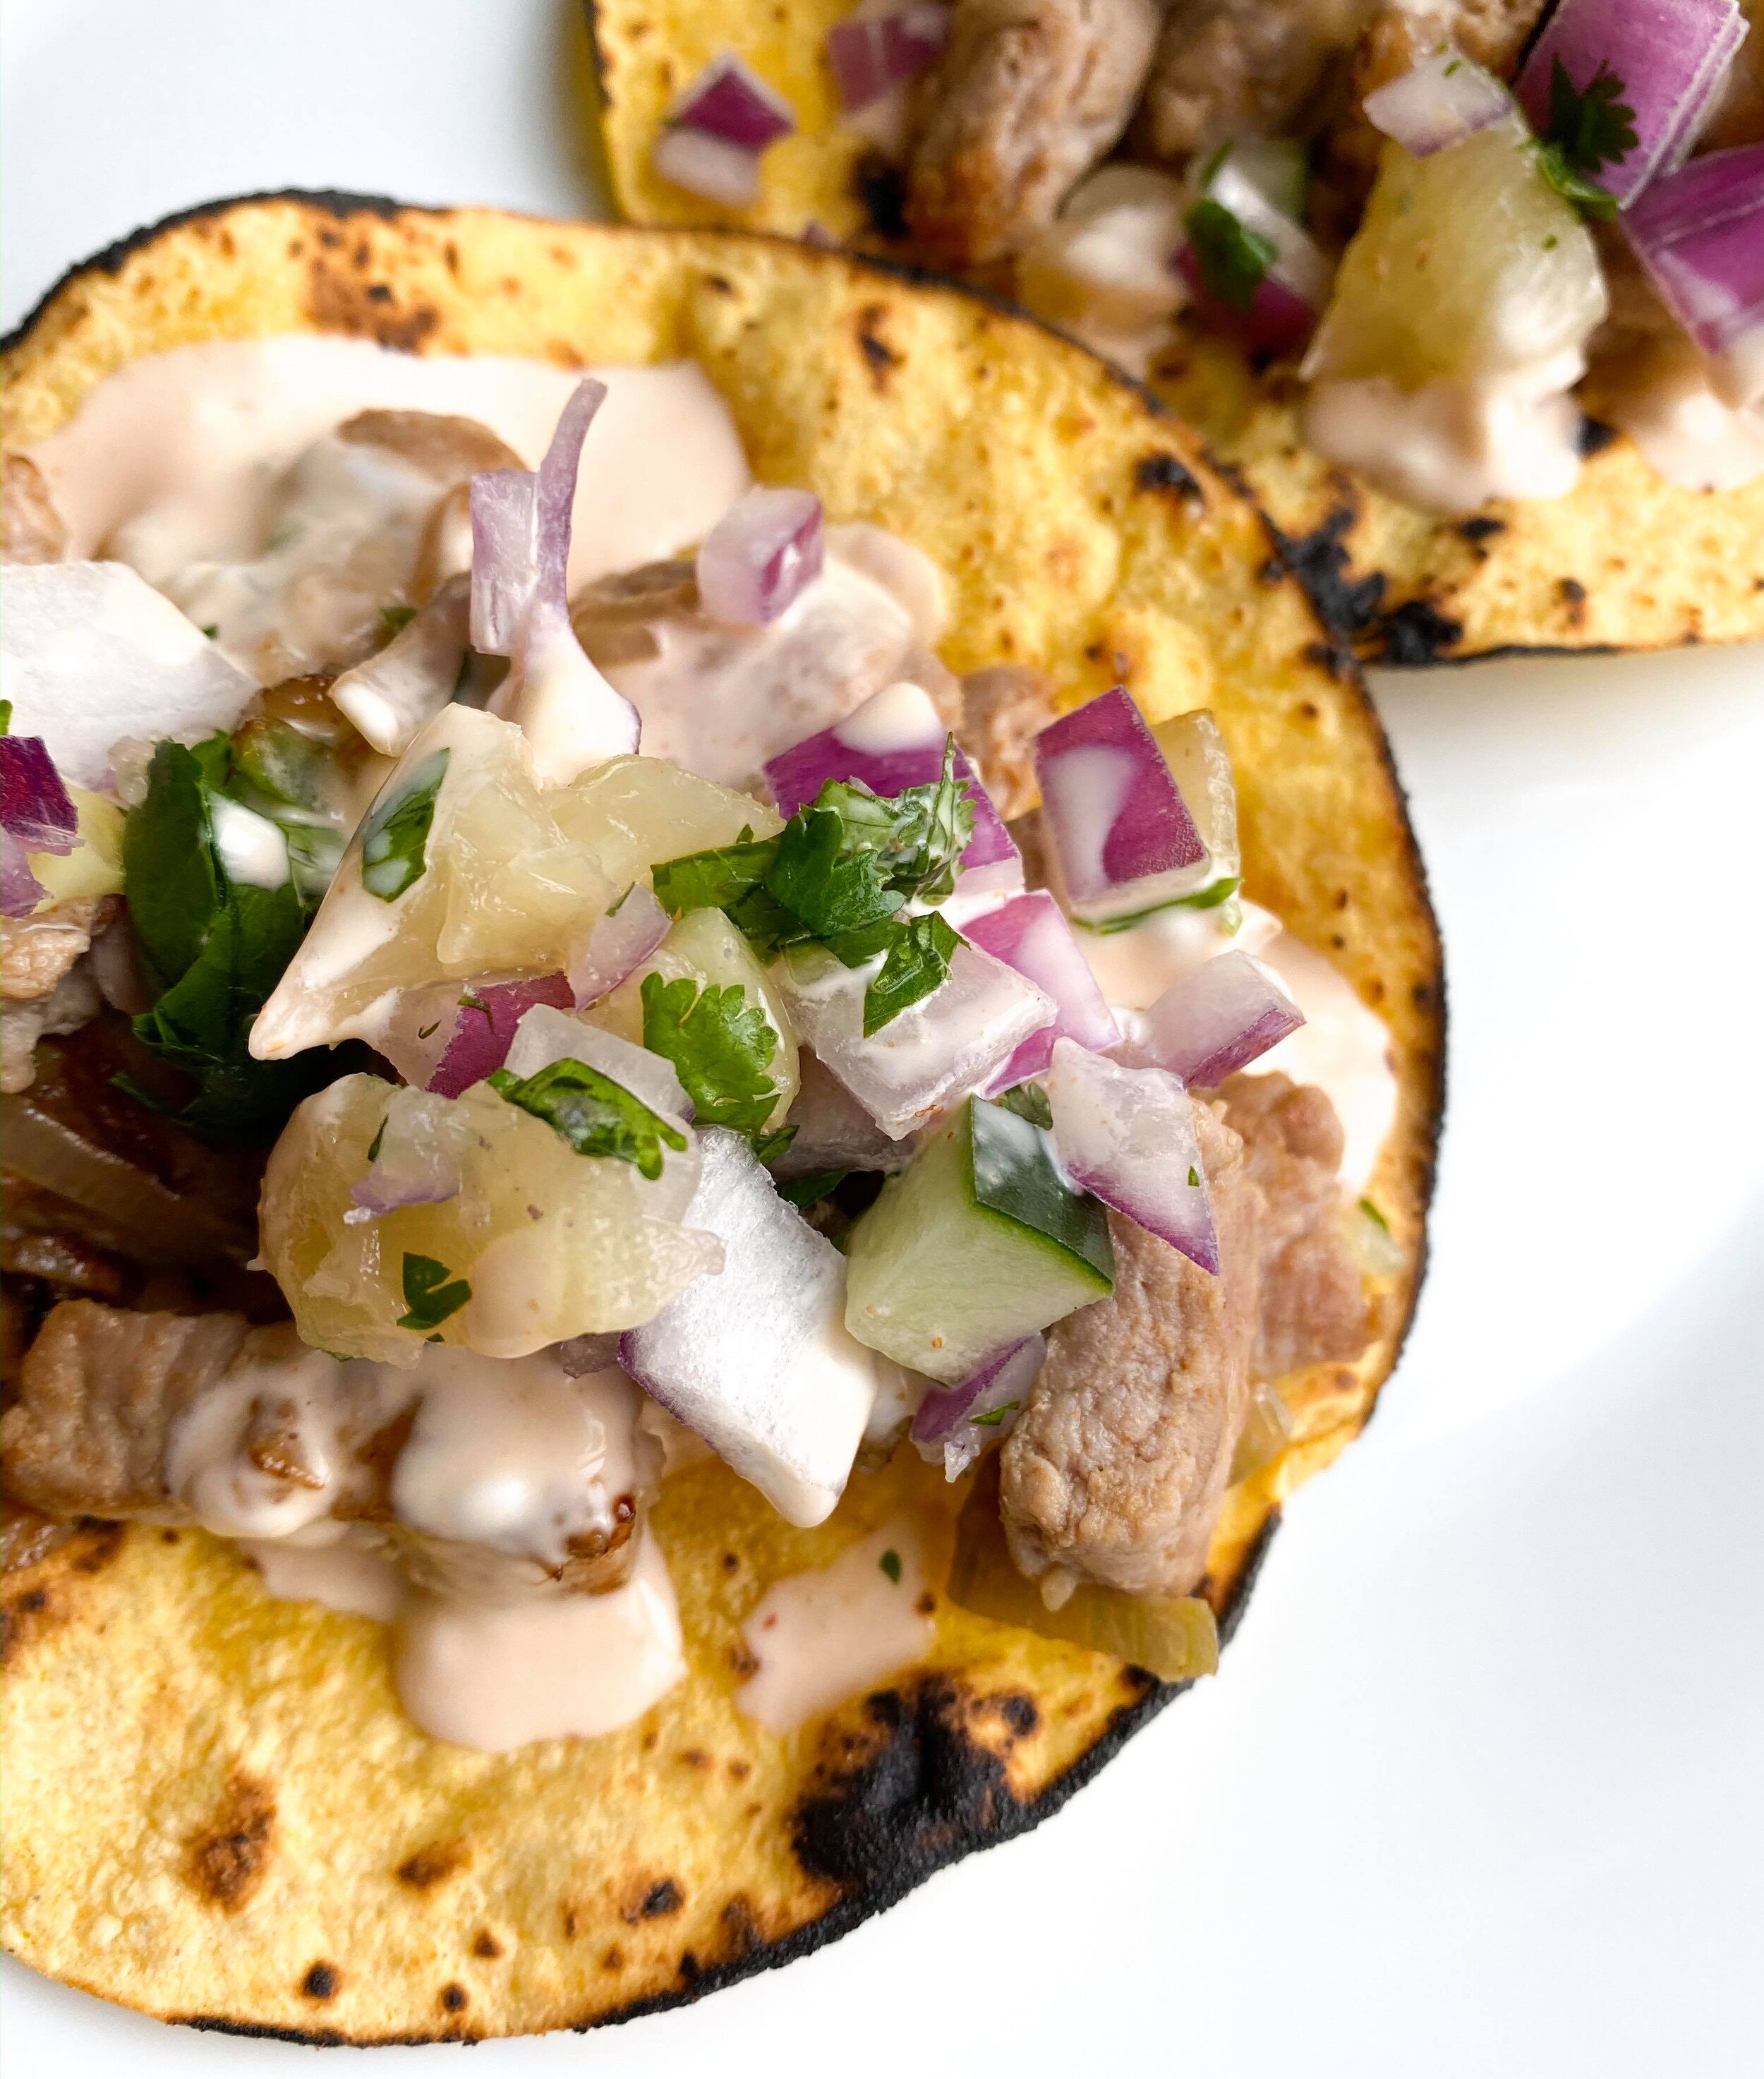
To assemble, put pork mixture in each tortilla and top with pineapple cucumber salsa. Top with spicy mayonnaise sauce!
PORTION FIX EQUIVALENT: 2 corn tortillas, 3/4 cup of pork, 1/4 cup of salsa and 2 tsp of sauce counts as 1 yellow, 1 red and 2 teaspoons.
Adapted from: Pinch Of Yum